Parking lot layout is one of the most consequential decisions a property developer or facility manager will make. A well-designed lot maximizes capacity, moves traffic efficiently, reduces accidents, and creates a positive first impression. A poorly designed one creates bottlenecks, wastes space, and frustrates every driver who uses it.
Whether you’re planning a new surface lot, redesigning an existing facility, or expanding a parking garage, the fundamentals of effective layout design remain the same.
Why Layout Matters More Than Most People Think
The difference between a good parking lot layout and a mediocre one often comes down to 15-20% of total capacity. For a 500-space facility, that’s 75-100 spaces — potentially hundreds of thousands of dollars in annual revenue.
Beyond capacity, layout directly affects:
- Safety — Clear sight lines, pedestrian paths, and proper lane widths reduce accidents
- Revenue — More efficient space utilization means more vehicles per square foot
- Customer experience — Intuitive wayfinding reduces circling time and frustration
- Operational cost — Good flow patterns reduce the need for attendants and signage
- Compliance — ADA requirements, fire lane access, and local building codes all depend on layout
Parking Space Dimensions: Getting the Basics Right
Standard parking space dimensions vary by jurisdiction, but most follow similar guidelines:
| Space Type | Width | Length | Notes |
|---|---|---|---|
| Standard | 8.5-9 ft | 18-20 ft | Most common for commercial lots |
| Compact | 7.5-8 ft | 15-16 ft | Typically limited to 15-25% of total spaces |
| ADA Accessible | 8 ft + 5 ft aisle | 20 ft | Van-accessible requires 8 ft + 8 ft aisle |
| EV Charging | 9-10 ft | 20 ft | Extra width for charging equipment access |
| Motorcycle | 4 ft | 8 ft | Often grouped near entrances |
The width you choose has cascading effects. Every additional 6 inches of space width across a 200-space lot consumes roughly 8-10 full spaces worth of area. The trade-off between driver comfort and capacity is one of the most important decisions in the design process.
Angled vs. Perpendicular vs. Parallel Parking
The angle of parking spaces relative to the driving aisle determines both capacity and ease of use.
90-Degree (Perpendicular) Parking
The most common layout for commercial lots. Spaces are arranged at right angles to the driving aisle.
Advantages:
- Highest space density per square foot
- Works equally well for two-way traffic
- Drivers can approach from either direction
Disadvantages:
- Requires wider aisles (24 ft minimum for two-way)
- Harder to park for some drivers, especially in larger vehicles
- Higher risk of door-ding damage in tight configurations
Angled Parking (45-60 Degrees)
Spaces are arranged at an angle to the driving aisle, typically 45, 60, or 75 degrees.
Advantages:
- Easier to pull into and back out of
- Narrower aisle requirements (12-18 ft for one-way)
- Better visibility when backing out
- Lower accident rates in studies
Disadvantages:
- Lower capacity than 90-degree layouts
- Requires one-way traffic flow
- More complex wayfinding
Parallel Parking
Typically used only for street-side or perimeter spaces, not interior lot design.
For most commercial parking facilities, 90-degree layouts maximize revenue while angled layouts improve the user experience. Many operators find that a 60-degree angle offers the best balance between capacity and usability.
Traffic Flow and Circulation
Effective traffic circulation is about moving vehicles from the entrance to an available space — and back out again — with minimal conflict points.
One-Way vs. Two-Way Aisles
| Factor | One-Way | Two-Way |
|---|---|---|
| Aisle width required | 12-18 ft | 22-26 ft |
| Space efficiency | Higher (narrower aisles) | Lower (wider aisles) |
| Driver confusion | Higher (requires clear signage) | Lower (more intuitive) |
| Speed control | Easier (natural flow) | Harder (opposing traffic) |
Design Principles for Good Flow
Minimize conflict points — Every intersection where two traffic streams cross is a potential accident. Reduce these by using one-way loops where possible.
Separate entry and exit — Dedicated entry and exit lanes prevent queuing conflicts. For facilities over 200 spaces, consider separate entry and exit points entirely.
Create a natural circuit — Drivers should be able to cruise the entire lot looking for spaces without dead ends or awkward U-turns.
Place high-turnover spaces near entries — Short-term visitor spaces should be closest to the entrance. Long-term employee or tenant spaces can be further away.
Design for peak load — Your lot needs to handle the busiest 15-minute window, not the average. Model entry rates and plan lane capacity accordingly.
Pedestrian Safety in Parking Design
Pedestrian-vehicle conflicts are the most serious safety concern in any parking facility. Good layout design separates pedestrian and vehicle paths wherever possible.
Key pedestrian safety elements:
- Dedicated walkways along building frontages and between parking rows
- Raised crosswalks at major pedestrian crossing points
- Speed bumps or tables in high-pedestrian areas
- Clear sight lines at the ends of parking rows where pedestrians cross
- Adequate lighting — minimum 1 foot-candle in parking areas, 5 foot-candles at pedestrian crossings
ADA Compliance Requirements
The Americans with Disabilities Act sets specific requirements for accessible parking that must be incorporated into every layout design.
Minimum Accessible Space Requirements
| Total Spaces | Minimum Accessible Spaces | Van-Accessible |
|---|---|---|
| 1-25 | 1 | 1 |
| 26-50 | 2 | 1 |
| 51-75 | 3 | 1 |
| 76-100 | 4 | 1 |
| 101-150 | 5 | 1 |
| 151-200 | 6 | 1 |
| 201-300 | 7 | 2 |
| 301-400 | 8 | 2 |
| 401-500 | 9 | 2 |
Accessible Space Design Rules
- Must be located on the shortest accessible route to the building entrance
- Access aisles must be at least 5 feet wide (8 feet for van-accessible)
- Surface must be firm, stable, and slip-resistant
- Maximum slope of 1:48 (2%) in any direction
- Signage must include the International Symbol of Accessibility mounted at least 60 inches high
Technology Integration in Modern Lot Design
Modern parking facilities increasingly incorporate technology that affects layout decisions from the planning stage.
Access Control Placement
Barrier gates and access control systems require specific space allowances in your layout:
- Entry lanes — 12-14 ft width minimum per lane, with 50+ ft of queuing depth before the gate
- Exit lanes — 10-12 ft width, with adequate merge space after the gate
- Island placement — Control equipment islands need 3-4 ft width between lanes
- Power and data — Conduit runs must be planned during initial layout, not retrofitted
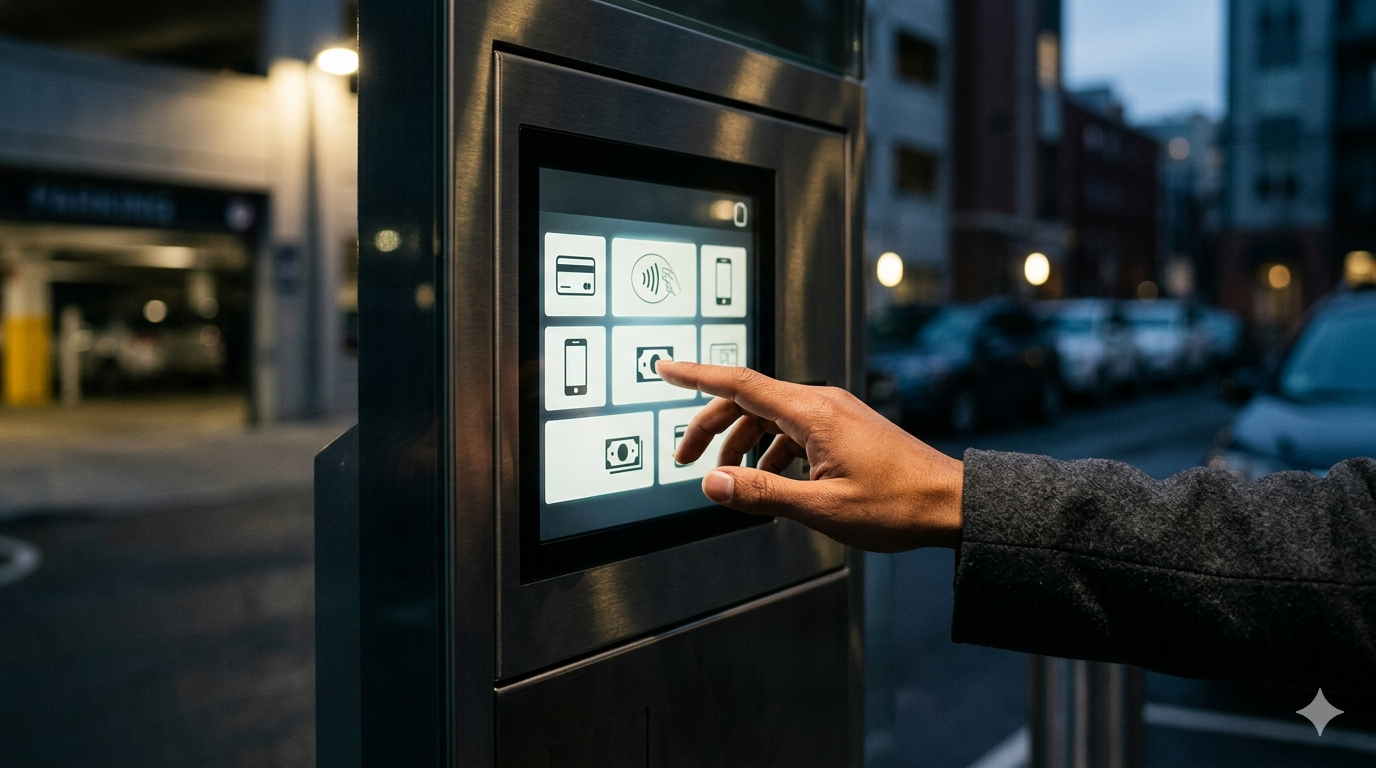
Payment System Considerations
Where you place payment machines and pay stations affects pedestrian flow and queue management:
- Pay-on-foot stations work best near elevator lobbies or pedestrian exits, not at vehicle exit lanes
- Pay-in-lane stations need adequate lane queuing (avoid backing up into the main circulation path)
- Mobile payment reduces the need for physical stations but requires reliable cellular or Wi-Fi coverage throughout the facility
LPR and Camera Placement
License plate recognition cameras and security cameras need clear sight lines that must be planned into the layout:
- Entry/exit cameras require unobstructed views of approaching vehicles at a distance of 15-30 ft
- Overhead mounting points (12-15 ft height) should be designed into the structural plan
- Lighting at camera positions must meet minimum requirements for image capture
Guidance and Counting Systems
Parking guidance systems — sensors that detect occupied/vacant spaces and display availability — require:
- Sensor mounting points above every space or at row entries
- Display sign locations at decision points (turns, level entries)
- Network cabling or wireless infrastructure throughout the facility
Surface Lot vs. Garage: Layout Differences
While the fundamentals overlap, surface lots and structured garages have distinct layout considerations.
Surface Lot Specifics
- Drainage — Surface lots need a minimum 1-2% grade for water runoff, which affects space dimensions at the perimeter
- Landscaping islands — Many jurisdictions require landscaping breaks every 15-20 spaces, reducing net capacity
- Lighting poles — Pole placement must not conflict with space dimensions or sight lines
- Stormwater management — Permeable pavers and retention areas are increasingly required, with the EPA promoting green infrastructure approaches for parking surfaces
Garage Specifics
- Turning radii — Helical ramps need a minimum 26 ft inside radius; straight ramps need 12% maximum grade
- Floor-to-floor height — 10-11 ft minimum; 12+ ft recommended for levels with SUV/truck parking
- Column spacing — 60 ft x 30 ft bays are standard; wider spacing improves space usability but increases structural cost
- Ventilation — Mechanical ventilation requirements affect ceiling heights and duct routing
Common Layout Mistakes
After reviewing hundreds of parking facility designs, several patterns of poor layout decisions appear repeatedly:
- Undersized aisles — Saving 2 feet on aisle width to gain a few spaces creates daily frustration and fender benders
- Poor entrance queuing — Insufficient space between the street and the first control point causes traffic to back up onto public roads
- Dead-end rows — Forcing drivers to back out of a full row wastes time and creates conflicts
- Ignoring pedestrians — Treating the lot as vehicle-only space creates dangerous conditions
- Failing to plan for technology — Retrofitting conduit, mounting points, and network infrastructure costs 3-5x more than designing them in from the start
- One-size-fits-all spaces — Not providing a mix of standard, compact, and oversized spaces for the actual vehicle mix
Planning Your Layout: A Step-by-Step Approach
- Survey the site — Accurate dimensions, grades, utilities, and setback requirements
- Define the program — Total spaces needed, mix of types, access control requirements, payment method
- Model traffic flow — Peak entry/exit rates, average duration, turnover expectations
- Draft the layout — Starting with access points and major circulation, then filling in parking rows
- Check compliance — ADA, fire access, local zoning, landscaping requirements
- Plan technology infrastructure — Conduit, power, network, mounting points for all planned equipment
- Review with operations — Walk the design with the people who will manage the facility daily
- Iterate — Good parking design rarely gets it right on the first draft
Getting Expert Help
Parking layout design sits at the intersection of civil engineering, architecture, traffic engineering, and facility operations. While small lots (under 50 spaces) can often be designed with standard templates, larger facilities benefit from specialized parking consultants.
Industry organizations like the International Parking & Mobility Institute (IPMI) maintain directories of qualified parking consultants and offer design guidelines that supplement local building codes. The Federal Highway Administration also publishes technical guidance on parking facility design standards.
For the technology side of the equation — access control, payment systems, LPR cameras, and management software — equipment manufacturers like Parking BOXX can provide technical specifications and integration requirements that need to be incorporated into the layout from the earliest design stages. Getting these specifications early prevents costly redesigns later.
Key Takeaways
- Space dimensions, aisle widths, and parking angles all involve trade-offs between capacity and usability
- Traffic flow design should minimize conflict points and eliminate dead ends
- ADA compliance is non-negotiable and must be designed in from the start
- Technology infrastructure (access control, payment, LPR, guidance systems) should be planned during initial layout, not retrofitted
- Surface lots and garages each have unique considerations beyond the basics
- The difference between a good layout and a poor one can be 15-20% of total capacity